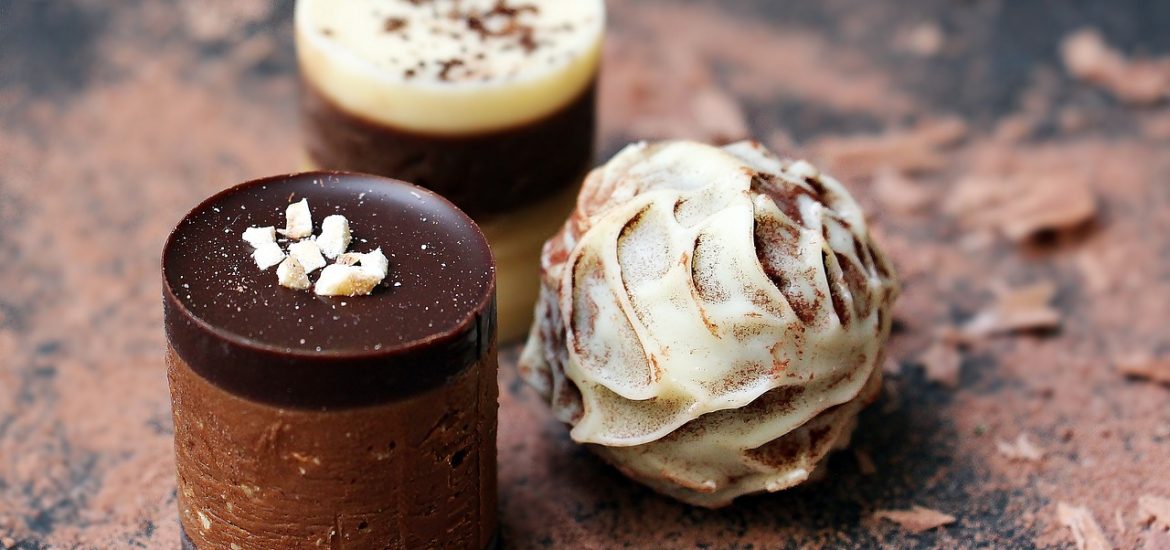
Chocolate is a tasty snack on its own, but it also makes a great addition to pastries, desserts, and even savory dishes! There are so many ways you can incorporate it into a recipe, from using it as a dip to molding it into elaborate shapes for an elegant look. Given how smooth and versatile chocolate is, it’s among the top choices of chefs for decorating food.
Regardless of your skill level, you can turn chocolate into a garnish. Techniques range from extremely basic to stunningly complex.
Types of Chocolate
Before stepping into the kitchen, though, you should understand the type of chocolate that you’ll be working with. For dipping or tempering, couverture chocolate is the easiest to work with. This type of chocolate contains more than the usual amount of cocoa butter, so It’s very fluid when melted.
Beyond that, any high-quality chocolate can be adapted to your recipe as long as you’re mindful of the taste. Organic dark chocolate has a rich taste, while milk chocolate is lighter and sweeter. You’d probably want to avoid white chocolate for decorating because it’s more fragile.
Ways to Decorate with Chocolate
We’ve arranged these fancy decorating techniques by difficulty:
Drizzling
A low-effort option is to drizzle chocolate all over a dessert to bring out its sweetness. But instead of just dumping melted chocolate on it, you want to be more precise and controlled so your dessert looks good and you don’t make a mess.
For drizzling, choose chocolate with lots of cocoa butter. First, you have to chop the chocolate into small pieces then melt these either on the stove or microwave. If you’re doing it on the stove, keep it at very low heat and stir the chocolate frequently until it’s almost completely melted. On the other hand, if on the microwave, keep the setting to half power and microwave the chopped chocolate in 30-second intervals, stirring in between.
Afterwards, put the melted chocolate inside a Ziploc or any plastic bag. Cut off a small part of the bag’s bottom corner. Give the bag a squeeze, and the chocolate should flow out conveniently.
Making Shapes
Prepare a piece of wax paper and set it on the counter with a cutting board underneath for a stable base. You’ll be layering the chocolate over this. To make the process seamless, you can draw your desired shape or letters on the wax paper for tracing. Some people even print out a design and trace that!
When your wax paper is ready, follow the same steps as for drizzling so you end up with melted chocolate in a plastic bag. Fill in your design on the wax paper with chocolate. You can leave it as is to set for several hours or, for warm environments, transfer it to the freezer for a few minutes. Once the chocolate has hardened, peel it off gently with a spatula and transfer it to your dessert.
This whole technique is called piping, and you can shape the chocolate into anything from a simple “Happy birthday!” to a heart.
Chocolate Leaves
Chocolate leaves have an amazingly detailed shape, and that’s because they’re molded after actual leaves! You can play around with different colors of chocolate for this.
For leaves, pick out non-toxic leaves with prominent veins such as mint, rose, or lemon. Wash the leaves, then pat dry. As always, melt your chocolate, then dip a paintbrush into it and layer the chocolate on one side of each leaf! Two coats of chocolate are usually enough. Try not to apply only one coat because the resulting chocolate leaf might be too brittle.
Transfer the leaves to wax paper. Let them set, then peel the leaves from the paper while taking care to not touch them excessively. You now have chocolate replicas of the original leaves!
Chocolate Shards
Chocolate shards often end up as toppings on cakes, and they look decadent and impressive. Making them requires attention to detail, but the results are worth it.
Apply melted chocolate evenly onto a sheet of wax paper. You can simply put all of it first on the paper, then spread it out with a spatula. Place another sheet of wax paper on top and smooth it out. The next step is to roll the entire setup into a tube, then keep it in the fridge for a few hours.
Once the chocolate inside has hardened, unroll the wax paper. The chocolate will break into shards on its own. Remove the wax paper on top and scoop out the shards with a spatula. They’re ready for decorating!
Building on the Basics
If you’re a beginner when it comes to working with chocolate, practice first with melting and piping. These are essential skills for any of the more intricate techniques. For those with more experience, you can challenge yourself by getting creative with piping. For example, try making a honeycomb shape with the help of plastic wrap or playing around with a chocolate lace collar to wrap around the sides of a cake. In any case, a chocolate garnish can upgrade your dessert, adding to both its taste and visual impact.

